Coding with LLMs: Ollama
A few months ago, I learned about Ollama and how it enables you to easily run LLMs locally. I finally got the time to give it a go, and it is surprisingly easy to get it working.
Go to https://ollama.ai, download the installer for your system, and once completed, open the terminal and run ollama run codellama:7b. Congratulations, you now have access to Code Llama locally! A quick test.
>>> write a function in swift that adds two numbers

func add(a: Int, b: Int) -> Int {
    return a + b
}

This is a simple function that takes two integers as input and returns their sum.

You can call this function by passing in the values you want to add, like this:

let result = add(a: 2, b: 3)
print(result) // Output: 5
I’ve been using ChatGPT for a while now, and to have the possibility to run and try out different LLMs locally is incredible.
Although running it locally on a laptop could be enough, I want to take it one step further and repurpose my gaming PC to run the LLMs on it instead and access it from all the computers on my network.
Installing Ollama with Docker
Docker setup
Ollama offers a Docker image and can run with GPU acceleration inside Docker containers. I don’t have Docker set up on my machine, so I need to address that first.
For future reference, I’ve used their Install Docker Engine on Debian - Install using the apt repository guide to set up Docker on my Pop_OS!. I initially tried Docker Desktop, but I had issues with my NVIDIA card and needed to run Docker with sudo.
- Set up Docker’s
aptrepository.# Add Docker's official GPG key: sudo apt update sudo apt install ca-certificates curl gnupg sudo install -m 0755 -d /etc/apt/keyrings curl -fsSL https://download.docker.com/linux/debian/gpg | sudo gpg --dearmor -o /etc/apt/keyrings/docker.gpg sudo chmod a+r /etc/apt/keyrings/docker.gpg # Add the repository to Apt sources: echo \ "deb [arch="$(dpkg --print-architecture)" signed-by=/etc/apt/keyrings/docker.gpg] https://download.docker.com/linux/debian \ "$(. /etc/os-release && echo "$VERSION_CODENAME")" stable" | \ sudo tee /etc/apt/sources.list.d/docker.list > /dev/null sudo apt-get update - Install the Docker packages.
sudo apt-get install docker-ce docker-ce-cli containerd.io docker-buildx-plugin docker-compose-plugin - Verify that the installation is successful by running the hello-world image:
sudo docker run hello-world
NVIDIA GPU setup
With Docker up and running, the next step was to install the NVIDIA Container Toolkit so I can run Ollama with my GPU.
- Configure the repository:
curl -fsSL https://nvidia.github.io/libnvidia-container/gpgkey | sudo gpg --dearmor -o /usr/share/keyrings/nvidia-container-toolkit-keyring.gpg \ && curl -s -L https://nvidia.github.io/libnvidia-container/stable/deb/nvidia-container-toolkit.list | \ sed 's#deb https://#deb [signed-by=/usr/share/keyrings/nvidia-container-toolkit-keyring.gpg] https://#g' | \ sudo tee /etc/apt/sources.list.d/nvidia-container-toolkit.list \ && \ sudo apt-get update - Install the NVIDIA Container Toolkit packages:
sudo apt-get install -y nvidia-container-toolkit
Ollama setup
With all the Docker setup done, installing Ollama is pretty simple.
sudo docker run -d --gpus=all -v ollama:/root/.ollama -p 11434:11434 --name ollama ollama/ollama
To install a LLM in the container:
sudo docker exec -it ollama ollama run codellama:7b
This whole setup effectively has the same result as the initial setup that ran on my laptop but with the advantage of much better hardware and the possibility to use GPU, making it possible to use larger models.
Web UI
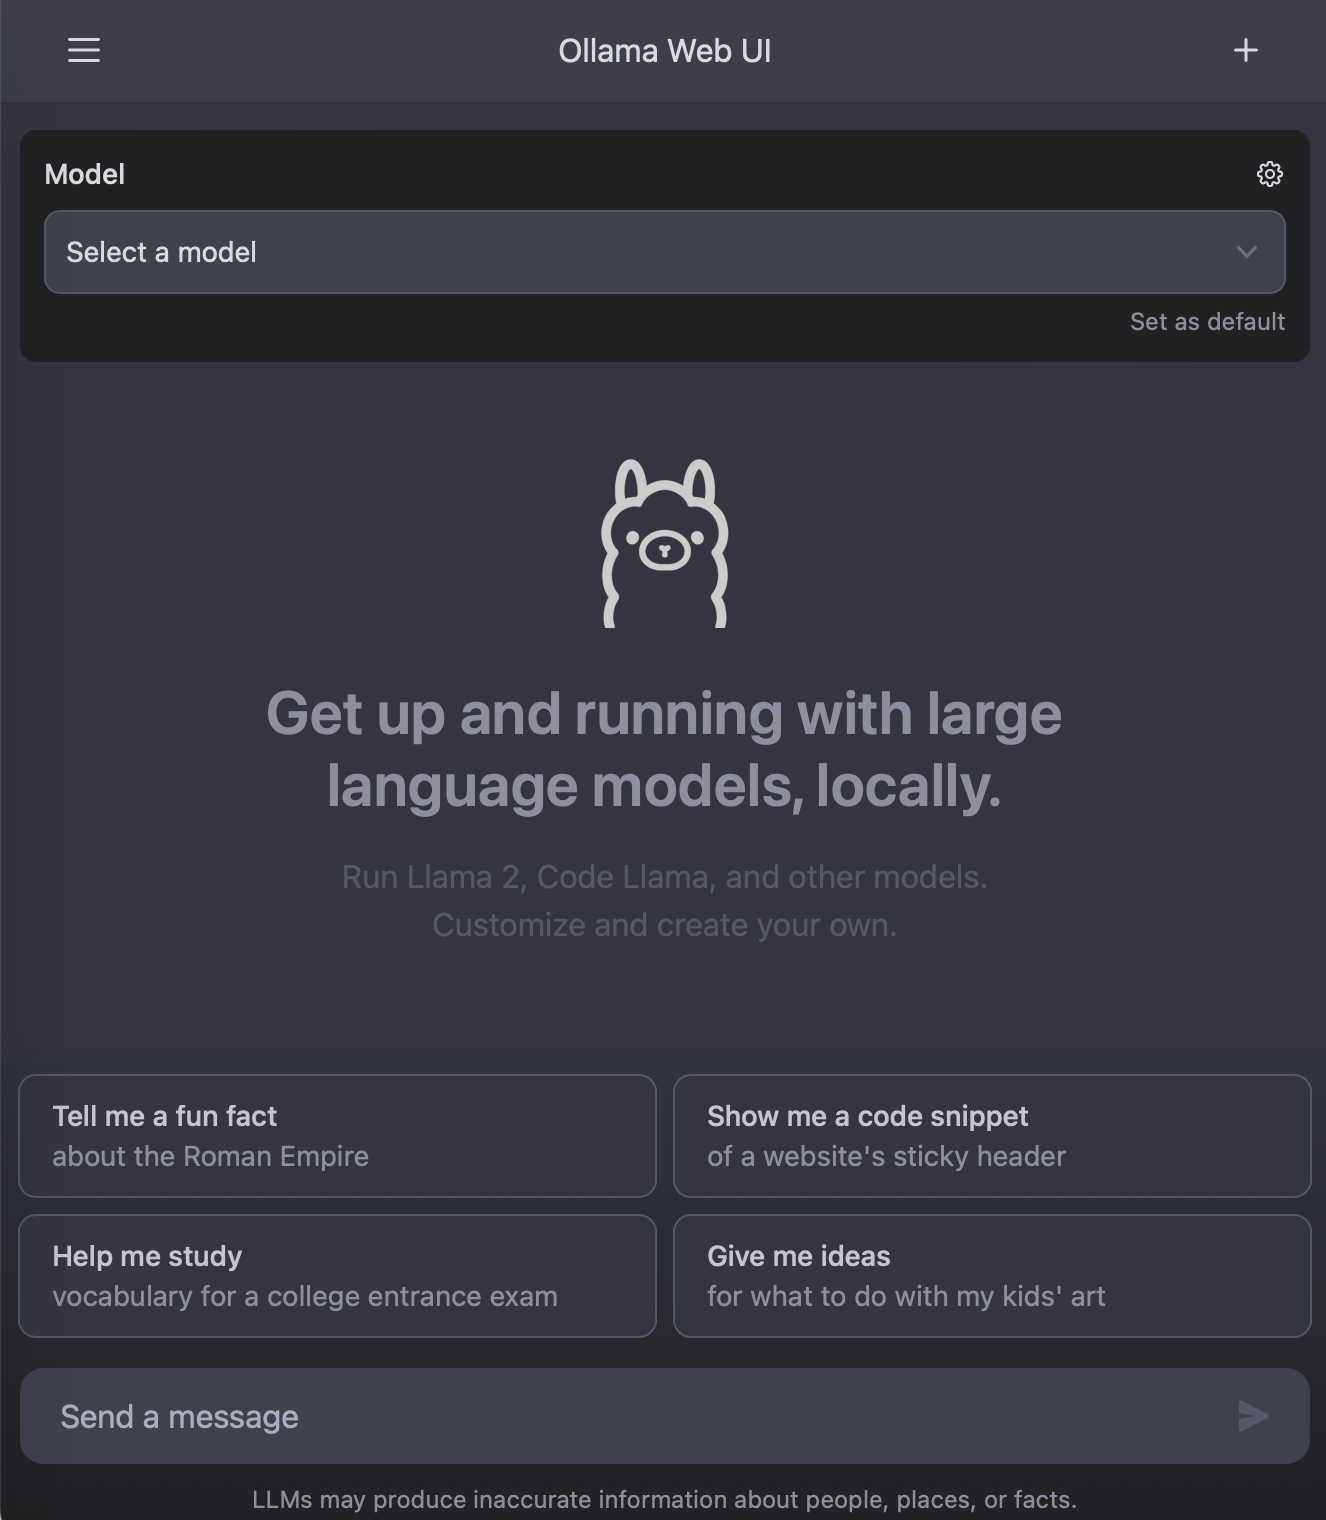
Now that I got Ollama set and running on a dedicated machine, I can start to explore some integrations. The first thing I wanted was to have a UI where I could interact with the model, something similar to the ChatGPT UI. Lucky me, many open-source projects provide such UI: LlamaGPT, Chatbot Ollama and Ollama Web UI to mention a few.
I went with Ollama Web UI because it fits my use case the best and has good documentation. LlamaGPT is by far the most popular of them. That said, it is meant as an easy-to-deploy solution with a simple setup but limited.
I’ve set up Ollama Web UI on my NAS using Docker Compose. After cloning their Git project, I ran the following command to build the Docker image with the configuration for my Ollama server.
sudo docker build --build-arg OLLAMA_API_BASE_URL='http://my.ollama.server:11434/api' -t ollama-webui .
They don’t provide a docker-compose.yml file, but creating one is very simple.
version: '3.3'

services:
  ollama-webui:
    image: ollama-webui:latest
    restart: always
    ports:
      - "3000:8080"
Running sudo docker-compose -f ./docker-compose.yml up -d starts the container and I can access the web UI at http://my.nas.server:3000.

I like that it allows me to select different models depending on what is available on my Ollama server, which is great for trying out different LLMs and comparing results.
The ultimate goal here is to use these LLMs for different applications that help me to write code more efficiently. Let’s see how far it can go.